
Table of Contents
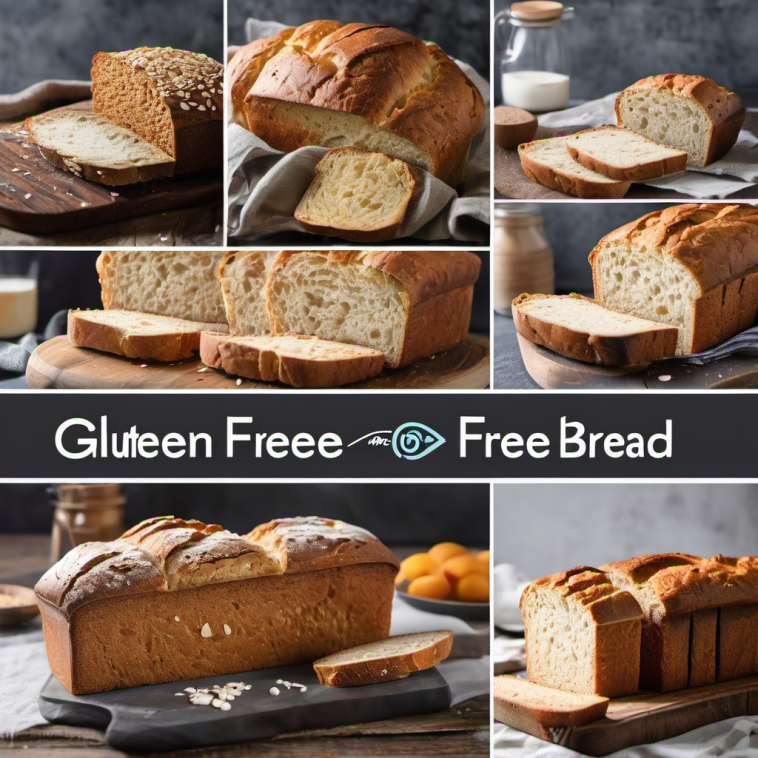
Introduction To Gluten Free Bread
In recent years, the demand for gluten free Bread alternatives has surged, driven by a growing awareness of gluten sensitivities and the health benefits of reducing gluten intake. As more individuals embrace gluten-free lifestyles, the quest for flavorful and nutritious bread options has become increasingly important. Traditional wheat bread, with its gluten-rich composition, is off-limits for those with celiac disease or gluten intolerance, leaving them searching for satisfying alternatives.
However, many store-bought gluten free breads fall short in both taste and texture, often lacking the wholesome goodness and delicious flavor of their wheat counterparts. It is within this culinary landscape that our flavorful gluten-free bread recipe emerges as a beacon of hope—a homemade solution that delivers on both taste and nutrition.
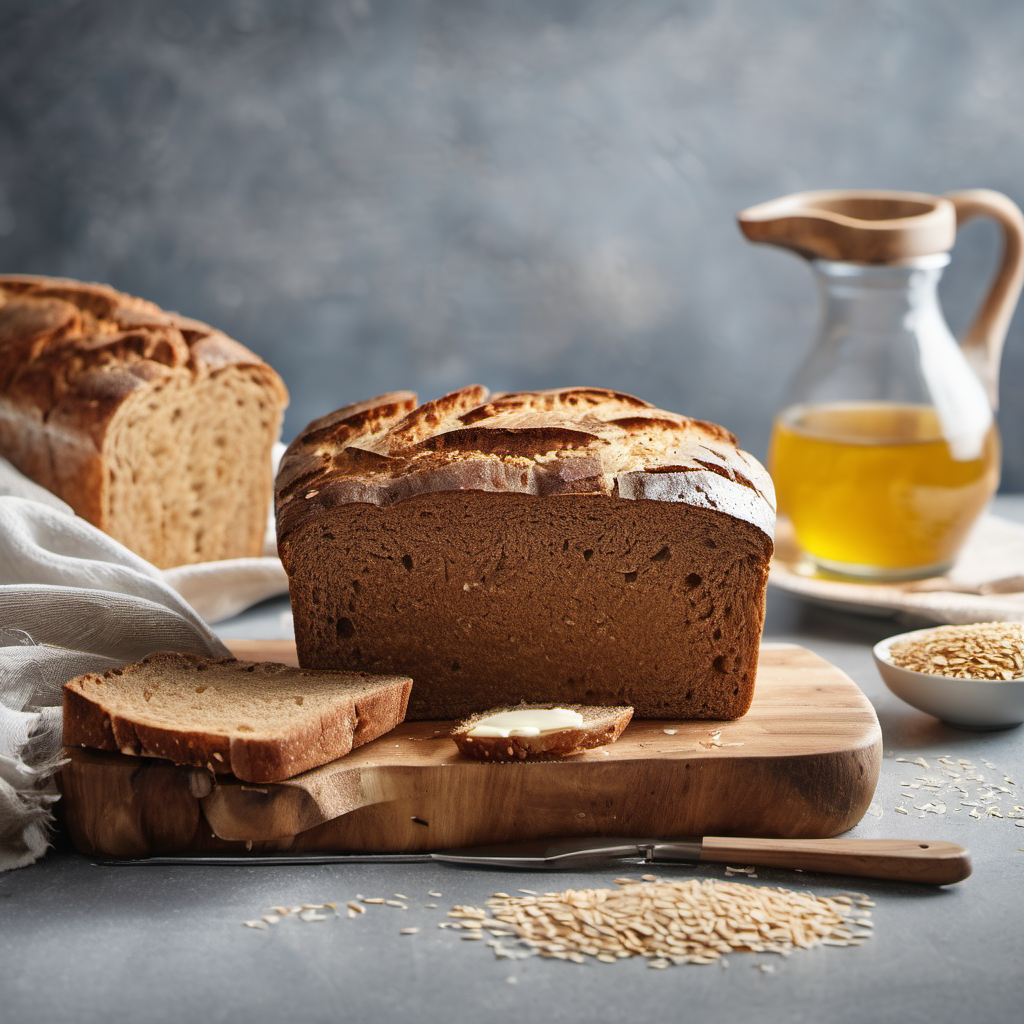
Crafted with care and attention to detail, our gluten free bread recipe combines a harmonious blend of wholesome ingredients to create a loaf that is soft, moist, and bursting with flavor. From the nutty richness of almond flour to the lightness of tapioca flour and the nutritional punch of ground flaxseed, each ingredient plays a vital role in achieving the perfect balance of taste and texture.
What sets this recipe apart is not only its delicious flavor but also its nutritional value, offering a source of dietary fiber, healthy fats, and essential nutrients. With every slice, you’ll experience the satisfaction of enjoying homemade bread that nourishes both body and soul.
Understanding Gluten Free Bread Ingredients:
To craft a flavorful and nutritious gluten free bread, it’s essential to understand the role of each ingredient and how they contribute to the final product. Let’s delve into the key components of our gluten-free bread recipe and explore their unique characteristics:
- Gluten-Free All-Purpose Flour Blend:
- This versatile blend serves as the foundation of our gluten free bread, providing structure and texture. Gluten-free all-purpose flour blends are typically made from a combination of alternative flours such as rice flour, sorghum flour, potato starch, and tapioca starch. These flours mimic the binding properties of gluten found in wheat flour, allowing the bread to rise and hold its shape.
- Almond Flour:
- Almond flour adds a rich and nutty flavor to our gluten free bread while contributing to its moist and tender crumb. Made from finely ground almonds, almond flour is naturally gluten-free and high in protein, healthy fats, and vitamin E. It also lends a subtle sweetness to the bread, enhancing its overall taste profile.
- Tapioca Flour:
- Tapioca flour, also known as tapioca starch, is a starchy flour made from the cassava root. It is prized for its ability to improve the texture of gluten-free baked goods, making them light and airy. In our gluten free bread recipe, tapioca flour helps create a soft and fluffy texture, ensuring that each slice is delightfully tender and easy to chew.
- Ground Flaxseed:
- Ground flaxseed not only adds nutritional value to our gluten free bread but also serves as a binding agent. Rich in omega-3 fatty acids, fiber, and antioxidants, ground flaxseed helps hold the ingredients together and contributes to the bread’s structure. It also adds a subtle nutty flavor and a delicate crunch to the finished loaf.
By understanding the role of each gluten-free ingredient, we can appreciate the complexity of flavors and textures that contribute to our delicious gluten free bread recipe. With this knowledge in hand, let’s proceed to explore the step-by-step instructions for crafting this flavorful loaf from scratch.
Ingredients and Their Roles In Gluten Free Bread Recipe
In this section, we’ll take a closer look at the ingredients required for our flavorful gluten-free bread recipe and explore their individual roles in creating a delicious and nutritious loaf:
- Gluten-Free All-Purpose Flour Blend:
- Acting as the primary flour base, the gluten-free all-purpose flour blend provides structure and texture to the bread. Its combination of alternative flours, such as rice flour, sorghum flour, and tapioca starch, mimics the binding properties of gluten found in traditional wheat flour. This blend ensures that our bread rises evenly and maintains a soft, cohesive crumb.
- Almond Flour:
- Almond flour adds richness and moisture to the bread, contributing to its tender texture and nutty flavor profile. Rich in protein, healthy fats, and vitamin E, almond flour offers nutritional benefits while enhancing the overall taste of the bread. Its natural sweetness complements the other ingredients, adding depth and complexity to each slice.
- Tapioca Flour:
- Tapioca flour plays a crucial role in improving the texture and mouthfeel of gluten-free baked goods. It helps create a light and airy crumb, giving our bread a soft and fluffy consistency. Tapioca flour also contributes to the bread’s elasticity, making it easier to work with and shaping into a loaf.
- Ground Flaxseed:
- Ground flaxseed serves as both a nutritional powerhouse and a binding agent in our gluten free bread recipe. Packed with omega-3 fatty acids, fiber, and antioxidants, ground flaxseed adds nutritional value to the bread while helping hold the ingredients together. Its subtle nutty flavor complements the other ingredients, enhancing the overall taste and texture of the loaf.
Understanding the roles of each ingredient allows us to appreciate the synergy of flavors and textures that come together to create our flavorful gluten free bread. With a blend of wholesome ingredients and careful attention to detail, we can ensure that each slice is not only delicious but also nourishing for both body and soul. Now, let’s move on to the step-by-step instructions for preparing and baking our gluten-free bread with confidence and ease.
Step-by-Step Instructions For Gluten Free Bread
In this section, we’ll guide you through the process of preparing and baking our flavorful gluten free bread from scratch. Follow these step-by-step instructions for delicious results:
- Prepare the Ingredients:
- Gather all the ingredients required for the recipe, ensuring that they are fresh and measured accurately. This includes the gluten-free all-purpose flour blend, almond flour, tapioca flour, ground flaxseed, yeast, salt, honey or maple syrup, olive oil, warm water, and eggs.
- Activate the Yeast:
- In a small bowl, combine the warm water and honey or maple syrup. Sprinkle the active dry yeast over the mixture and let it sit for 5-10 minutes, or until foamy. This process activates the yeast, ensuring that it will help the bread rise during baking.
- Mix the Dry Ingredients:
- In a large mixing bowl, combine the gluten-free all-purpose flour blend, almond flour, tapioca flour, ground flaxseed, and salt. Whisk the dry ingredients together until well combined, ensuring that there are no lumps.
- Combine the Wet Ingredients:
- In a separate bowl, whisk together the activated yeast mixture, olive oil, and eggs until smooth and evenly combined. The wet ingredients will help bind the dry ingredients together and provide moisture to the bread.
- Mix the Dough:
- Pour the wet ingredients into the bowl of dry ingredients. Use a spatula or wooden spoon to mix the ingredients together until a smooth, sticky dough forms. The dough should be soft and slightly tacky to the touch.
- Knead the Dough (Optional):
- If desired, transfer the dough to a lightly floured surface and knead it gently for 2-3 minutes, or until it becomes smooth and elastic. Kneading helps develop the gluten free bread’s structure and texture.
- Shape the Loaf:
- Transfer the dough to a greased or parchment-lined loaf pan, shaping it into a smooth and even loaf. Use your hands to pat down the dough and smooth the surface.
- Let the Dough Rise:
- Cover the loaf pan with a clean kitchen towel or plastic wrap and let the dough rise in a warm, draft-free place for 60-90 minutes, or until it doubles in size. This allows the yeast to ferment and leaven the bread, resulting in a light and airy texture.
- Preheat the Oven:
- While the dough is rising, preheat your oven to 350°F (175°C). This ensures that the oven is fully heated and ready to bake the bread when the rising process is complete.
- Bake the Bread:
- Once the dough has doubled in size, remove the covering and place the loaf pan in the preheated oven. Bake the bread for 40-45 minutes, or until it is golden brown on top and sounds hollow when tapped on the bottom.
- Cool and Enjoy:
- Remove the bread from the oven and let it cool in the loaf pan for 10-15 minutes. Then, transfer the bread to a wire rack to cool completely before slicing and serving. Enjoy your flavorful gluten-free bread with your favorite toppings or spreads!
Following these step-by-step instructions will help you create a delicious and homemade gluten-free bread that’s perfect for sandwiches, toast, or enjoying on its own. With a blend of wholesome ingredients and careful attention to detail, you’ll be amazed by the flavor and texture of this homemade loaf. Now, let’s move on to the baking process and tips for achieving the best results with your gluten free bread.
Baking Process and Tips Of Gluten Free Bread
Baking gluten free bread requires careful attention to detail to ensure that the loaf rises properly and achieves the desired texture and flavor. Here are some essential tips and guidelines to follow during the baking process:
- Preheating the Oven:
- It’s crucial to preheat your oven to the correct temperature before baking the bread. This ensures that the oven is fully heated and ready to bake the bread evenly from the start. Set your oven to 350°F (175°C) and allow it to preheat while you prepare the dough.
- Choosing the Right Pan:
- Use a standard-sized loaf pan (approximately 9×5 inches) for baking gluten free bread. Grease the loaf pan thoroughly or line it with parchment paper to prevent the bread from sticking during baking. A properly prepared pan will ensure that the bread bakes evenly and releases easily from the pan after baking.
- Monitoring the Rising Time:
- Keep a close eye on the dough as it rises in the loaf pan. The rising time may vary depending on factors such as room temperature and humidity. Allow the dough to double in size, which typically takes 60-90 minutes. Avoid overproofing the dough, as this can lead to an overly dense and compact loaf.
- Checking for Doneness:
- To determine if the bread is fully baked, gently tap the bottom of the loaf with your fingertips. If it sounds hollow, the bread is done. Additionally, insert a toothpick into the center of the loaf—if it comes out clean or with a few moist crumbs, the bread is ready. Avoid overbaking the bread, as this can result in a dry and crumbly texture.
- Cooling the Bread:
- Once the bread is baked, remove it from the oven and let it cool in the loaf pan for 10-15 minutes. This allows the bread to set and ensures that it holds its shape when removed from the pan. After cooling slightly, transfer the bread to a wire rack to cool completely before slicing. Cooling the bread prevents it from becoming soggy and ensures that it slices cleanly.
- Storing the Bread:
- Store any leftover gluten free bread in an airtight container or resealable plastic bag at room temperature for up to 3-4 days. For longer storage, you can freeze the bread by wrapping it tightly in plastic wrap and placing it in a freezer bag. Thaw frozen bread at room temperature or in the refrigerator before serving.
By following these baking tips and guidelines, you can ensure that your gluten free bread turns out perfectly every time. With a little practice and attention to detail, you’ll master the art of baking delicious and homemade gluten-free bread that’s sure to impress family and friends alike. Now, let’s explore some creative serving suggestions and pairings to elevate your gluten-free bread to the next level.
Serving Suggestions and Pairings For Gluten Free Bread
Once you’ve baked your flavorful gluten free bread to perfection, it’s time to explore the endless possibilities for serving and enjoying it. Here are some creative serving suggestions and pairings to inspire your culinary adventures:
- Classic Toast: Slice the freshly baked gluten free bread and toast it until golden brown. Serve with your favorite spreads, such as butter, jam, honey, or nut butter, for a classic and comforting breakfast or snack.
- Sandwiches and Paninis: Use your gluten free bread to create delicious sandwiches and paninis filled with your favorite ingredients. Try classic combinations like turkey and avocado, grilled cheese, or BLT for a satisfying lunch or dinner option.
- Bruschetta or Crostini: Slice the gluten-free bread into thin rounds and toast until crisp. Top with diced tomatoes, fresh basil, garlic, and a drizzle of balsamic glaze for a flavorful bruschetta appetizer or snack.
- French Toast: Transform your gluten free bread into decadent French toast by soaking slices in a mixture of beaten eggs, milk, cinnamon, and vanilla extract. Cook until golden brown and serve with maple syrup, fresh berries, and a dusting of powdered sugar.
- Bread Crumbs or Croutons: Use leftover gluten-free bread to make homemade bread crumbs or croutons. Simply pulse the bread in a food processor until finely ground for bread crumbs, or cube and toast until crispy for croutons. Use them to add texture and flavor to salads, soups, or casseroles.
- Open-Faced Tartines: Create elegant open-faced tartines by topping toasted gluten-free bread with a variety of savory or sweet toppings. Try combinations like mashed avocado with cherry tomatoes and feta cheese, or ricotta cheese with figs and honey for a sophisticated appetizer or light meal.
- Bread Pudding: Transform your gluten free bread into a decadent dessert by making bread pudding. Combine cubed bread with a custard mixture of eggs, milk, sugar, and spices, then bake until set. Serve warm with a drizzle of caramel sauce or a scoop of vanilla ice cream for a comforting treat.
- Dipping Bread: Serve slices of gluten-free bread alongside olive oil and balsamic vinegar for a simple and elegant appetizer or starter. Add a sprinkle of sea salt and freshly ground black pepper for extra flavor.
Experiment with different serving suggestions and pairings to discover new and delicious ways to enjoy your homemade gluten-free bread. Whether you’re indulging in a classic toast with butter or getting creative with gourmet toppings, this flavorful loaf is sure to be a hit at any meal or gathering. Now, let’s explore some tips for storing and preserving your gluten-free bread for future enjoyment.
Storage and Shelf Life Of Gluten Free Bread
Proper storage is essential for maintaining the freshness and quality of your gluten-free bread over time. Follow these tips to ensure that your homemade loaf stays delicious for as long as possible:
- Cooling Completely: Before storing your gluten-free bread, allow it to cool completely to room temperature. This prevents condensation from forming inside the storage container, which can make the bread soggy.
- Airtight Container: Store your gluten free bread in an airtight container or resealable plastic bag to protect it from exposure to air and moisture. This helps prevent the bread from drying out and becoming stale.
- Room Temperature: Gluten free bread can be stored at room temperature for up to 3-4 days. Keep the container in a cool, dry place away from direct sunlight and heat sources.
- Refrigeration (Optional): If you prefer to extend the shelf life of your gluten free bread, you can store it in the refrigerator. Wrap the bread tightly in plastic wrap or aluminum foil before placing it in the refrigerator to prevent it from drying out. Refrigerated gluten-free bread can last up to 5-7 days.
- Freezing: For longer-term storage, gluten free bread can be frozen for up to 2-3 months. Wrap the bread tightly in plastic wrap or aluminum foil, then place it in a freezer bag or airtight container. Thaw frozen bread at room temperature or in the refrigerator before serving. You can also reheat frozen bread in the oven or toaster for a few minutes to restore its freshness.
- Slicing Before Freezing (Optional): To make it easier to use frozen gluten free bread, consider slicing it before freezing. Place parchment paper between the slices to prevent them from sticking together. This allows you to thaw and use individual slices as needed without having to defrost the entire loaf.
By following these storage tips, you can enjoy your homemade gluten free bread for longer and minimize food waste. Whether you’re enjoying it fresh out of the oven or pulling slices from the freezer as needed, your flavorful gluten-free bread is sure to be a delicious and convenient addition to your meals. Now, let’s explore the nutritional benefits of this homemade loaf and how it fits into a healthy and balanced diet.
Nutritional Benefits and Dietary Considerations:
Understanding the nutritional profile of your gluten-free bread is important for making informed dietary choices and ensuring that your meals are balanced and nourishing. Here’s a closer look at the nutritional benefits and dietary considerations of our flavorful gluten-free bread:
- Gluten Free Bread and Celiac-Friendly:
- Our gluten free bread recipe is free from gluten-containing ingredients, making it safe and suitable for individuals with celiac disease or gluten intolerance. It provides a delicious alternative to traditional wheat bread, allowing those with gluten sensitivities to enjoy a variety of bread-based dishes without compromising their health.
- Rich in Healthy Fats and Protein:
- Almond flour, one of the main ingredients in our gluten-free bread recipe, is rich in healthy fats, including monounsaturated fats and omega-3 fatty acids. These fats help support heart health and provide long-lasting energy. Additionally, almond flour is a good source of protein, essential for muscle repair and growth.
- High in Dietary Fiber:
- Ground flaxseed, another key ingredient in our gluten-free bread, is a powerhouse of dietary fiber. Fiber plays a crucial role in promoting digestive health, regulating blood sugar levels, and maintaining a healthy weight. Including fiber-rich foods like ground flaxseed in your diet can help keep you feeling full and satisfied.
- Nutrient-Dense Ingredients:
- Our gluten-free bread recipe incorporates nutrient-dense ingredients such as almond flour, tapioca flour, and ground flaxseed, providing essential vitamins, minerals, and antioxidants. These ingredients contribute to overall health and well-being, supporting immune function, bone health, and cellular repair.
- Low Glycemic Index:
- Gluten-free bread made with almond flour and tapioca flour typically has a lower glycemic index compared to bread made with refined wheat flour. This means that it has a slower and more gradual impact on blood sugar levels, helping to prevent spikes and crashes in energy levels.
- Versatile and Customizable:
- Our gluten-free bread recipe offers versatility and flexibility, allowing you to customize it to suit your dietary preferences and needs. You can experiment with different flours, sweeteners, and flavorings to create a bread that fits your taste preferences and nutritional goals.
By incorporating our flavorful gluten-free bread into your diet, you can enjoy a delicious and nutritious alternative to traditional wheat bread while supporting your overall health and well-being. Whether you’re following a gluten-free lifestyle or simply seeking a wholesome and flavorful bread option, our homemade gluten-free bread is sure to satisfy your taste buds and nourish your body. Now, let’s recap the key points covered in this article and encourage readers to try the recipe for themselves.
Final Thoughts About Gluten Free Bread
In this comprehensive guide, we’ve explored the art of baking flavorful gluten-free bread from scratch, step by step. From understanding the role of each ingredient to mastering the baking process and exploring creative serving suggestions, we’ve covered everything you need to know to create a delicious loaf that’s sure to impress.
Our homemade gluten free bread recipe offers a perfect balance of taste, texture, and nutrition, making it a delightful addition to any meal or occasion. With a blend of wholesome ingredients like almond flour, tapioca flour, and ground flaxseed, this bread is not only gluten-free but also rich in healthy fats, protein, and dietary fiber. It’s a versatile option that can be enjoyed fresh out of the oven, toasted to perfection, or used in a variety of culinary creations.
Whether you’re living with celiac disease, gluten intolerance, or simply looking for a flavorful and wholesome alternative to traditional bread, our gluten free bread recipe is sure to satisfy your cravings. By following our detailed instructions and tips, you can bake with confidence and enjoy the delicious rewards of homemade bread.